


TABLE OF CONTENTS
Ⅰ.INTRODUCTION…………………..................................1
Ⅱ.STRUCTURE AND PERFORMANCE…………............3
Ⅲ.ASSEMBLY…………….................................................7
IV.COMFORT ADJUSTMENTS…………………….........10
Ⅴ.OPERATION…………………......................................12
Ⅵ.MAINTENANCE………………...................................19
Ⅶ.CLEAN..........................................................................20
Ⅷ.SAFETY……………………...........................................21
IX.WARRANTY………………………….............................24
X.PARTS ORDER INFORMATION...................................25
Ⅰ.INTRODUCTION
Read and follow all instructions, warnings, and notes in this manual before attempting to operate your mobility scooter for the first time. If there is any information in this manual which you do not understand, or if you require additional assistance for assembly or operation, please feel free to contact Ecomobi Service team at any time.
Whether to use your product safely is up to whether you follow the instructions, cautions and warnings in this manual. We are not liable for any damage and /or injures resulting from individual unsafe operation or failure to follow instructions, cautions and warnings in this manual.
These symbols below in this manual are used to identify warnings and important information. All of them are very important to your safety. It is strongly recommended that you should read and understand them completely.
|
Failure to heed the warnings in the manual may result in personal injury. |
|
Failure to heed the cautions in the manual may result in damage to the mobility scooter. |
To your safety, please be sure to read all the operating instructions of the manual and follow them strictly when you use the mobility scooter for the first time. These instructions are fully for your vital interests. Comprehending the instructions is the basic protection for operating the mobility scooter safely.
Once you really comprehend how to operate and maintain the mobility scooter, we believe this product will bring you the service without worry and endless fun for years.
We will be appreciated to hear your suggestions for this manual and the evaluation to the safety, reliability of this product and the dealers authorized of this company.
Ⅱ.STRUCTURE AND PERFORMANCE
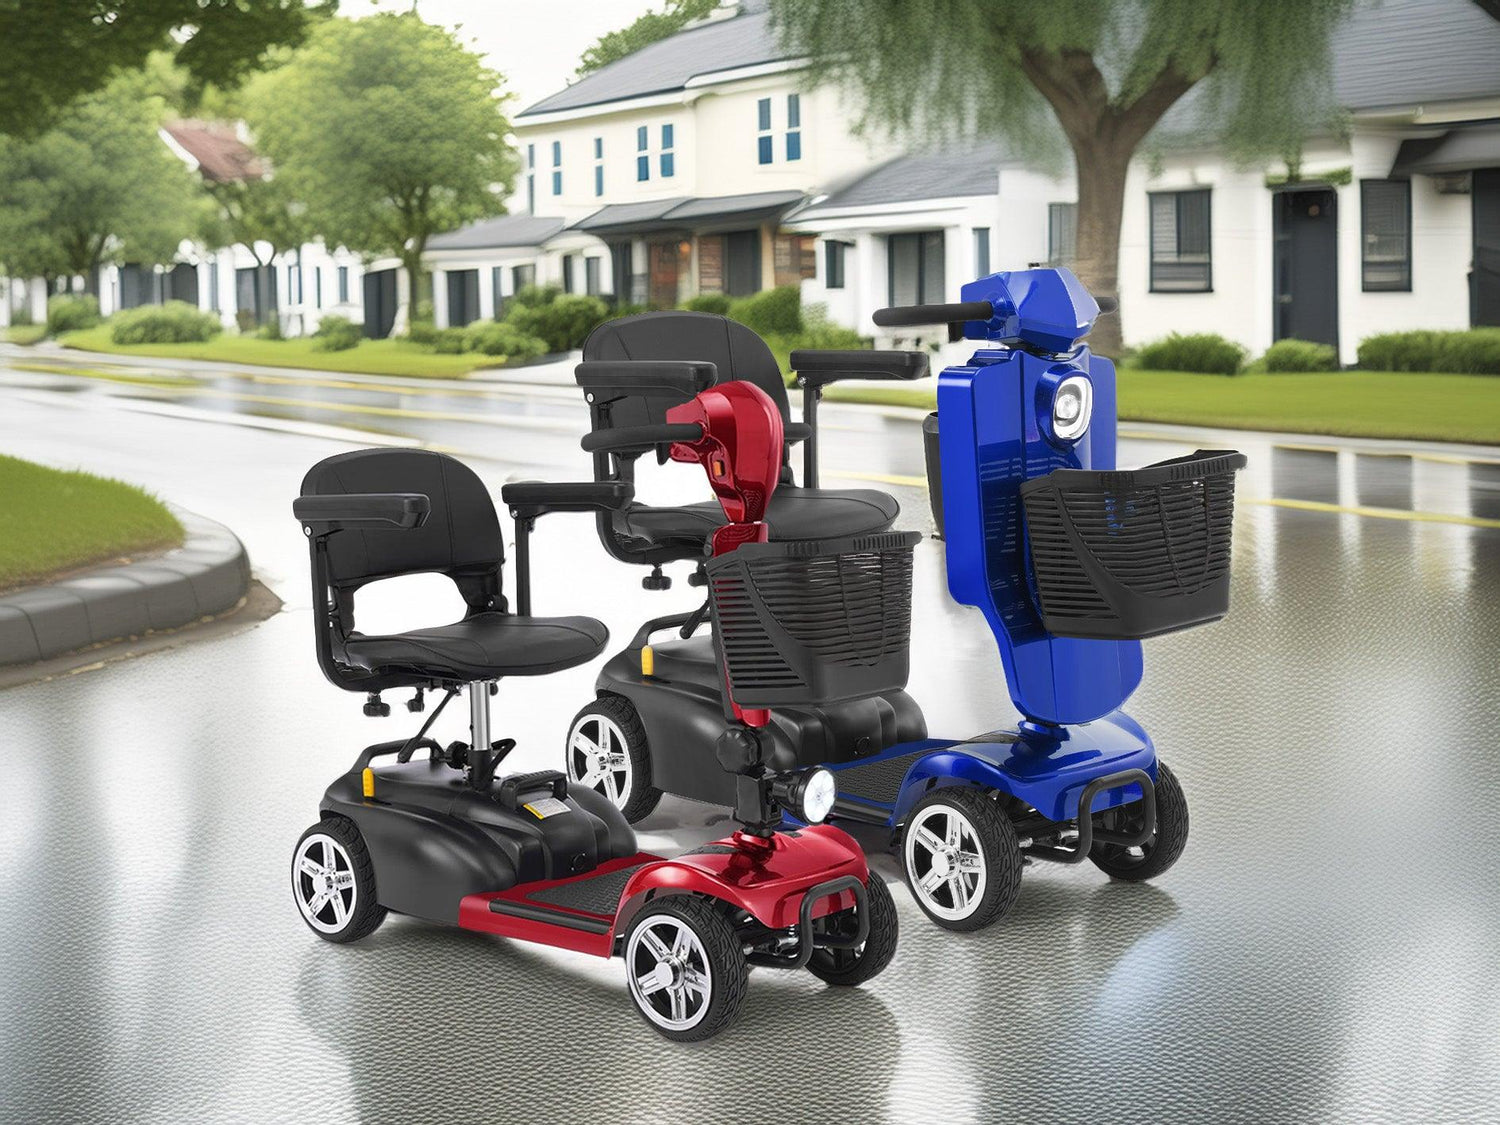
This scooter mainly consists of below parts: scooter body, seat unit, armrest, console panel, handlebar, transaxle, driving wheels, brake lever, anti-tipper, battery pack, front light, and controller. (See pic.1 ).
Note: Different Model may vary in different components or minor aesthetic differences.

Pic.1
CONSOLE PANEL(see pic 2)

Pic.2
a. Key switch
Control power of the entire scooter.
b. Speed dial
Adjust the maximum speed of the scooter, turn it clockwise to increase the speed.
Rotate counterclockwise to decrease the speed.
c. Power indicator
Turn on the power switch, the meter will show the battery's power level, the green part indicates that the power is strong, the yellow part indicates that the power is weak, and the red part indicates that the power is very low. The battery must be charged in time.
d. Front light button
Press this button to turn on the light, then press this button again to turn off the light.
e. Horn button
Press this button,the horn sounds.
f. Left control lever
Pull the lever backward with your left hand, the scooter moves backwards. The bigger the angle is, the faster the speed is. Slowly release the lever and the scooter will slow down. When it is fully released and the lever is reset, the scooter will stop and be in braking state.
g. Right control lever
Pull the lever backwards with your right hand to move the scooter forward. The bigger the angle is, the faster the speed will be. Slowly release the lever and the scooter will slow down. When it is fully released and the lever is reset, the scooter will stop and be in braking state.
*If the user wants left lever forward, right lever backward, we can adjust the controller to achieve customer's request.
The other Function:

Pic.3
The yellow lever is the Manual brake lever.(see pic.3)
Move the position of the yellow lever,the brake can be controlled to switch between electric mode and free-wheel mode.
Electric mode: When the brake lever is moved backwards to the “closed” position, the scooter is in braking state and cannot be pushed. At this position, turn on the power, so the scooter can run normally.
Free-wheel mode: When the brake lever is moved forward to the "open" position, the scooter is in a brake release state and can be pushed. (This function can be achieved by pulling the handle whether the power is on or off, but in this position, the scooter cannot be drove.).
It is absolutely forbidden to push the brake lever forward to the “open” position(push by hand) when going downhill,because there is no brake effect at this time to ensure the safety of the user and the mobility scooter.
Table1 SPECIFICATIONS
|
Overall size (L*W*H) |
1250*490*940mm(MS02) 1300*490*940mm(MS02 PRO) |
|
Battery |
24V 15AH 24V 20AH |
|
Scooter weight(N.W) |
44kg |
|
Maximum speed |
Max 7 Mph |
|
Brake |
Electromagnetic brake system |
|
Weight capacity |
140KG / 300Pounds |
|
Ground Clearance |
80mm |
|
Tyres |
Φ 197*64mm solid tyre |
|
Power of motor |
24V 350W |
|
Controller |
24V 50A |
|
Charger |
DC24V2A |
|
Max Grade Ability |
12° |
|
Running distance |
15AH: Up to 15 Miles 25AH:Up to 30 Miles |
Ⅲ. ASSEMBLY
Opening The Packing Box
Open the packing box of your new scooter ,and take off all protective liner ,and then take off the scooter that has folded from the box .
-------------------------------------------------------------------------------------------------------------
Adjusting Angle Tiller
a.Loose the lock-nut ( see pic.4)
b.Lift the tiller up until a proper angle for yourself
c.Tighten the lock-nuts to fix the tiller

Pic.4
-------------------------------------------------------------------------------------------------------------
Assemble The Seat Support
Insert the seat support into the seat tube located on the rear body ( see pic.5 )
a. Align the seat pin to the seat tube
b. Insert the seat pininto the hole.
c. Tighten the lock nut behind the seat tube


Pic.5
-------------------------------------------------------------------------------------------------------------
Battery Assembly:


1. The battery is designed to be detachable, making it convenient for you to remove the battery for charging and avoiding additional battery drain. Before use, please connect the plug.
2. It's advisable to disconnect the battery connection during long periods of inactivity to avoid additional battery drain.
Notice
1. Check and clean the electrodes and remove any foreign bodies on them that may cause poor electrical contact .
2. Incorrect placement of the batteries may cause the scooter unusable.
-------------------------------------------------------------------------------------------------------------
Seat Assembly
1. Put the seat onto the seat post.
2. Unlock the seat lock lever, adjust the seat toward the front and the lock lever will automatically lock the seat .
3. Assemble the left/right armrests respectively into the square tubes below the seat.
4. Adjust the seat width between the armrests suitable for you , tighten the knob.
------------------------------------------------------------------------------------------------------------
Basket Assembly
Notice:Some models come equipped with a rear basket that features an elastic contraction design. When the basket is opened, it releases significant elastic force. Please be mindful of safety during the installation process.


Rear Basket Assembly
1. At the arrow indicator, there is a fastener. Once you undo this fastener, the rear basket will automatically spring open.
2. After opening the basket, insert the support pole into the slot behind the seat, then tighten the lower fixing button. The installation of the rear basket is now complete.
Front Basket Assembly
1. Remove the two screws in the tiller. Assemble the basket holder onto the tiller .
2. Assemble the basket into the holder.
 NOTICE : The basket belongs to optional accessories , and the customers who need it please make an additional order . NOTICE : The basket belongs to optional accessories , and the customers who need it please make an additional order . |
Ⅳ.COMFORT ADJUSTMENTS
 WARNING! Pull out the power key before adjustment , never do it when driving. WARNING! Pull out the power key before adjustment , never do it when driving. |
Seat Height
- Pull up the seating fixing bar to release the seat .
- Pull up the seat .
- Remove the latch by pulling the latch-ring outward ( see pic.5 ) .
- Adjusting the seat height .
- Reload the latch .
- Reset the seat .
Seat Rotation
- Pull up the seat lock lever to release the seat.
- Rotate the seat to your desired direction.
- Release the seat lock lever, then it will lock the seat automatically.
Armrest Width
- Find the fixing screws on the armrest adjusting frame.
- Release the screws .
- Move the armrests outward or inward according to your
- Refasten the screws .
Tiller Angle Adjustment
- Loosen the lock knob on the lower end of the tiller.Adjust the tiller back and forth according to your favorite angle.
- Fasten the knob.
Ⅴ.OPERATION
- How to drive this mobility scooter
a. Get on the scooter, fully insert the key to the key switch and turn on the power.
b. Hold the handle with both hands and slowly pull the lever backward with your right hand to move forward.
c. Adjust the speed adjustment knob according to the road conditions, surrounding conditions and personal preferences.
d. When you want to stop, you only need to release the lever with your right hand to return it to the neutral position, so you can stop it smoothly.
e. When retreating, pay attention to the surrounding conditions. Pull the lever slowly backward with your left hand. When the left lever is released, the scooter can be stopped smoothly.
2.Charging
The battery charger is important to the batteries . This off-board charger can charge your scooter’s batteries safely, quickly and easily.
WARNING! Your scooter’s batteries must be charged with the off-board battery charger supplied by us . Do not use any automotive-type battery charger.
Charging Batteries with the off-board Charger.
- The scooter can be charged with battery pack connected on the scooter.
- Position your scooter near to a standard wall outlet .
- Lift the cover on the battery box.
- Ensure the scooter is off power.
- Plug the output connector the off-board charger into the 3-pin charger socket of the scooter .
- The red light on the charger turns on that indicates charging on .
- When charging is nearly finished ,the green light turns on.You should continue to charge the batteries for one or two hours.
- It is recommended that your batteries are charged for 10 to 12 hours .
- When the battery pack isfully charged , unplug the input connector of the charger from the wall outlet and then its output connector from the 3-pin charger socket of scooter .
- The battery packcan also be charged off-scooter.

*Please turn off the power before charging.
New Battery’s Usage
To break-in new batteries for maximum efficiency , please follow the notes here below :
1. Fully charge any new battery prior to its initial use. This brings the battery up to about 90% ofits peak performance level .
2. Operate your scooter throughout house and yard. Move slowly at first, and do not stay too far until you can skillfully driving your scooter and know how to control the driving distance from the battery condition indicator .
3. Give the batteries another full charge of 10 to 12 hours and operate your scooter again. The batteries will now perform at over 90%of their potential.
4. after four or five charging cycles , the batteries will top off at 100% charge and last for an extended period.
3.Tiller Console
The tiller console houses all of the controls required for driving your scooter, including the key switch, the speed adjustment knob, throttle control lever, battery condition indicator, horn button and headlight button. With all of controls on the console you can control various motions of your scooter.
Key Switch(see pic.2)
- Plug the key into the key switch.
- The light on the battery indicator illuminates.
- The light is off when the key is plugged out.
 WARNING! WARNING!
Do not use the key switch to stop your scooter unless an urgent event has happened. WARNNING! If your scooter has stopped for a long period, power down it to prevent unintended motion. |
Throttle Control Lever( See pic.2)
This lever, which locates on the left side of the tiller console, allows you to control the forward or reverse speeds of your scooter up to the maximum speed you preset with speed adjustment knob.
- Push the throttle control lever forward to disengage the brakes and make the scooter start moving backward. Conversely, the scooter starts moving forward if pulling the lever backward .
- The larger the angle the lever is pushed, the faster the speed of your scooter .
- When you release the lever completely,it automatically return to the primary position, i.e. the stop position, and engages your scooter’s brakes to slow the scooter until it comes to completely stop.
|
If your scooter occurs unintended motion , please release the throttle control lever immediately . The scooter will automatically come to stop unless this lever is out of order. |
Speed Adjustment Knob (see pic.2)
This knob allows you to preset and limit your scooter’s top speed . The maximum forward speed is 7 Mph and the maximum reverse speed 2.5mph. Min turning radius 1.4m.
| CAUTION!
Before you are master of operating, please preset this speed adjustment knob to the lowest position . |
Battery Condition Indicator ( see pic.2 )
- When your scooter is powered up , this indicator shows the remaining capacity of the batteries by 3 color ranges on it : red, yellow and green .
- When pointing to green , it indicates that the batteries are fully charged .
- When pointing to yellow, it indicates that the batteries remain half of capacity, and they need to be recharged .
- When pointing to red , it indicates that the batteries have been fully discharged ,and they need to be recharged immediately.
4.Off-board Charger
Open the hasp on the battery box, you can find a 3-pin charger socket.
Through it you can use the off-board charger to charge your scooter’s batteries. See Charging Batteries in this section.
Overload Protector
The overload protector is a safety device. When the overload occurs , this protector automatically trip to protect the motor and other electric devices. When the protector trips , your scooter will be powered down immediately . And then you should wait a minute at least before you can press the button on the protector , which is under the cover at rear body of scooter , to resume it . After that you can power up again and drive normally .
5.Free-Wheel Lever
There is a free-wheel lever at the low right of the seat.
Whenever you do not want to move your scooter by motor , you can put it in free-wheel mode.
- Push forward on the free-wheel lever to disengage the drive motor and switch to the free-wheel mode.
- Pull backward on thefree-wheel lever to engage the drive motor and switch to the drive mode .
CAUTION!
WARNING! When scooter is in drive mode, the manual free-wheel lever must be in backward position, i.e. in drive mode , so as to guarantee the brake system to work normally. Disallow to push the lever to forward position in movement. Failure to do so may cause personal injury or damage to your scooter . |
6.3-Pin Charger Socket
This socket is used to connect to the charger. When the batteries are charged, this socket makes your scooter out of work.
|
A wrong connection may cause damages to the charger. |
Ⅵ.MAINTENANCE
General Guidelines
- Avoid knocking or bumping the tiller console and consoles.
- Avoid prolonged exposure of your scooter to extreme conditions, such as overheat, cold or moisture.
- Keep the tiller console clean.
- Check all connectors to ensure that they are tight and secured
- Check all electrical connectors including the charger’s connectors.Make sure they are all tight and are not corroded. Batteries must sit flat in the battery tray with the battery terminals facing backward and forward each other and with 3-pin charger socket backward.
- When you finished everyday usage, please pull out the key to reduceunnecessary consumption of the power.
- This product has the power saving facility, when you stop using it up to 20 minutes, the power will shut off automatically. When need drive again, please re-plug the key.
- The body shroud has been sprayed with a clear sealant coating, andyou can apply a light coat of car wax to help it retain its high-gloss appearance.
- All wheel bearings are pre-lubricated and sealed. They require nosubsequent lubrication.
For keeping your scooter in a better condition, it should be checked before using. It is suggested that your scooter should be checked once per week and half a year as the following table 2.
Table 2 CHECK LIST
|
Check Items |
Any time |
Weekly |
Monthly |
Six monthly |
|
All parts |
|
|
● |
|
|
Turning, Driving, Devices etc. |
|
● |
|
|
|
Brakes |
● |
|
|
|
|
Connections |
|
● |
|
|
|
Battery Charge |
● |
|
|
|
|
Tire wear |
|
|
● |
|
|
Motors |
|
|
|
● |
|
Console devices |
|
● |
|
|
|
Clean |
● |
|
|
Ⅶ.CLEAN
- Controller: Wipe the controller surface with a dry and soft cloth.
- Motor:Clean the dirty on the surface of the motor, especially the dirty on the lead line of the motor. Forbidden to enter water. If the water exceeds 5cm, the motor will enter water, which may permanently damage the motor.
-
Body:The body shroud has been sprayed with a clear sealant coating, and you can apply a light coat of car wax to help it retain its high-gloss appearance.
Ⅷ.SAFETY
- Check all electrical connections. Make sure they are tight and not
- Check all connections to the battery box. Make sure they aresecured properly.
- Check the brakes. Make sure they are sensitive and reliable.
- Check the battery charge. See V Operation.
- Weight Limits
Your scooter is rated for a 300 pounds maximum weight capacity limit.
 WARNING! Exceeding the weight limit voids your warranty and may result in personal injury and damage to your scooter. WARNING! Exceeding the weight limit voids your warranty and may result in personal injury and damage to your scooter. |
3.INCLINE INFORMATION
| WARNING! When climbing an incline, do not zigzag or drive at an angle up the face of the incline. Drive your scooter straight up the incline. This greatly reduces the possibility of a tip or a fall. Always exercise extreme caution when negotiating an incline.
WARNING! Don’t driving up or down a potentially hazardous incline (Areas covered with snow, ice, cut grass, or wet leaves etc.). WARNING! Never drive down an incline backward. This could cause personal injury. |
The maximum safe slope of an incline is of 8°for your scooter. If a slope is less than this angle, it is safety for your scooter whenever climb or descent.
|
|
- Outdoor Driving Surface
You scooter is designed to provide optimum stability under normal driving conditions, level surfaces composed of concrete, blacktop,asphalt, or hard dirt. But you should avoid driving on the following roads:
- Surface that you feel unsure about or soft pavement.
- Tall grass that can become tangled in the running gear.
- Loosely packed gravel and sand beach.
- The max height of curb is 8cm.
- Free-Wheel Mode
Your scooter is equipped with a freewheel lever that allows the scooter to be manually pushed by your attendant. For more information,see V “Operation”.
|
WARNING! Do not attempt to place your scooter in Free-wheel mode while seated on it. Personal injury may result. Please ask an attendant for assistance if necessary. WARNING! Do not place your scooter in Free-wheel mode while on an incline. The scooter could roll uncontrollably down on its own, causing personal injury. |
6.Electromagnetic Interference
Electrical devices may be affected by Electromagnetic Interference (EMI) or Radio Frequency Interference (RFI) that are produced by radio waves from radio stations,TV stations and other radio transmitters. Like any electrical devices, your scooter may be affected by EMI/RFI. Especially, when your scooter is driven in the interference influence range of these radio transmitters. In this case
your scooter may be out of order due to their interferences.
7. Transfer Onto Or Off Scooter
To avoid an injury, the following safety precautions are useful for you while you attempt to transfer on or off your scooter.
- Remove the key from the key switch, see V. OPERATION.
- Ensure your scooter is not infree-wheel mode.Flip up or move away the armrests.
- Reduce the distance between you and your scooter or an object youare transferring onto.
- Turn the front wheels forward to improve your scooter's stabilityduring transfer.
|
|
|
WARNING! Do not expose your scooter to any type of moisture at any time (rain, snow. mist or wash). Such exposure will damage your scooter. Never operate your scooter if it has been exposed to moisture until it has been dried thoroughly. |
|
WARNING! Avoid putting all of your weight on the armrests. Failure to do so may cause your scooter to tip, resulting in your injury. WARNING! Avoid putting all of your weight on the footplate. Such use may cause your scooter to tip,resulting in your injury. |
Ⅸ.WARRANTY
All of design and production processes of our products are managed in accordance with ISO9001 to guarantee their quality.
Warranty Including
1.1 year warranty on the front and the rear main frames from the date of purchase.
2.1 year warranty on the following parts from the date of purchase:
- Electric control system and the controller.
- Motor/gearbox assembly.
- Charger
- 6 monthslimited warranty on batteries from the date of purchase.
Out of Warranty
- ABS Shroud worn out.
- Upholstery and seat.
- Damage caused due towrong operation, accident and
- Damage caused due to improper operation, maintenanceand
- Business or other abnormal use.
Ⅹ.PARTS ORDER INFORMATION
- If you need change the spare parts of scooter, please contact Ecomobi Service Team or visit Ecomobi official shop.
Download address:
https://img.cdnfe.com/product-file-public/1fad18cc68/22380162adafb68c229e57b6b7e371cb.pdf

10 comments
Debbie Saunders
I have the MS-O2F The battery charger always shows green. I charged it the first time per instructions it has only showed 3 bars. After riding 7 miles it shows 2 bars I put it on charger still showing green (no red) for 10 hours and it is still only showing 2 bars. How many bars should scooter have and why is the light always green?
Jannesse Hunt
Hello my scooter was purchased August 2025. One of the wheels is not turning the same way as the other causing it to make a dragging sound and not drive properly. At first it only made the sound when trying to turn now it does it a couple seconds after I pull lever to go forward please help. I
donia
I’m curious why y’all advertise this as a scooter that can handle 15° graded Hill climbs yet in this manual it says 12° graded hill climbs and then further down in the manual it says for a safe graded Hill climb to only do 8° graded hills so could you please explain which one it is cuz I talked to your customer service rep earlier and they confirmed that it can climb 15° graded hills so why does your user manual say differently? I would really like to know this information because that was a huge part of why I wanted to buy your ms-02 pro scooter. also I’ve seen videos of people writing your scooters in the grass no problem so why does this user manual say that you cannot write it in tall grass? also people are going to need to ride their scooter in what conditions whether it is raining or it had previously rained and the ground is wet and you ride your scooter again when it’s not even raining but the ground is wet then with that damage the motor because in the user manual it says not to expose it to any moisture at all whatsoever (especially the motor line,which I assume is under the deck?)cuz that could damage the motor but how are people supposed to ride their mobility scooters outside after it’s rained if you’re not supposed to expose it to any moisture at all whatsoever? any help is very much appreciated,thank you!
Pam Whitson
Can the back up beeper be muted or volume turned down? People think it’s a fire alarm, cover their ears and comment on how loud it is!
John Edsmiston
How do I release the battery in the MSO2 Pro
Leave a comment
This site is protected by hCaptcha and the hCaptcha Privacy Policy and Terms of Service apply.